Shopify Flow Guide
Automate B2B registration workflows with Shopify Flow triggers and actions.
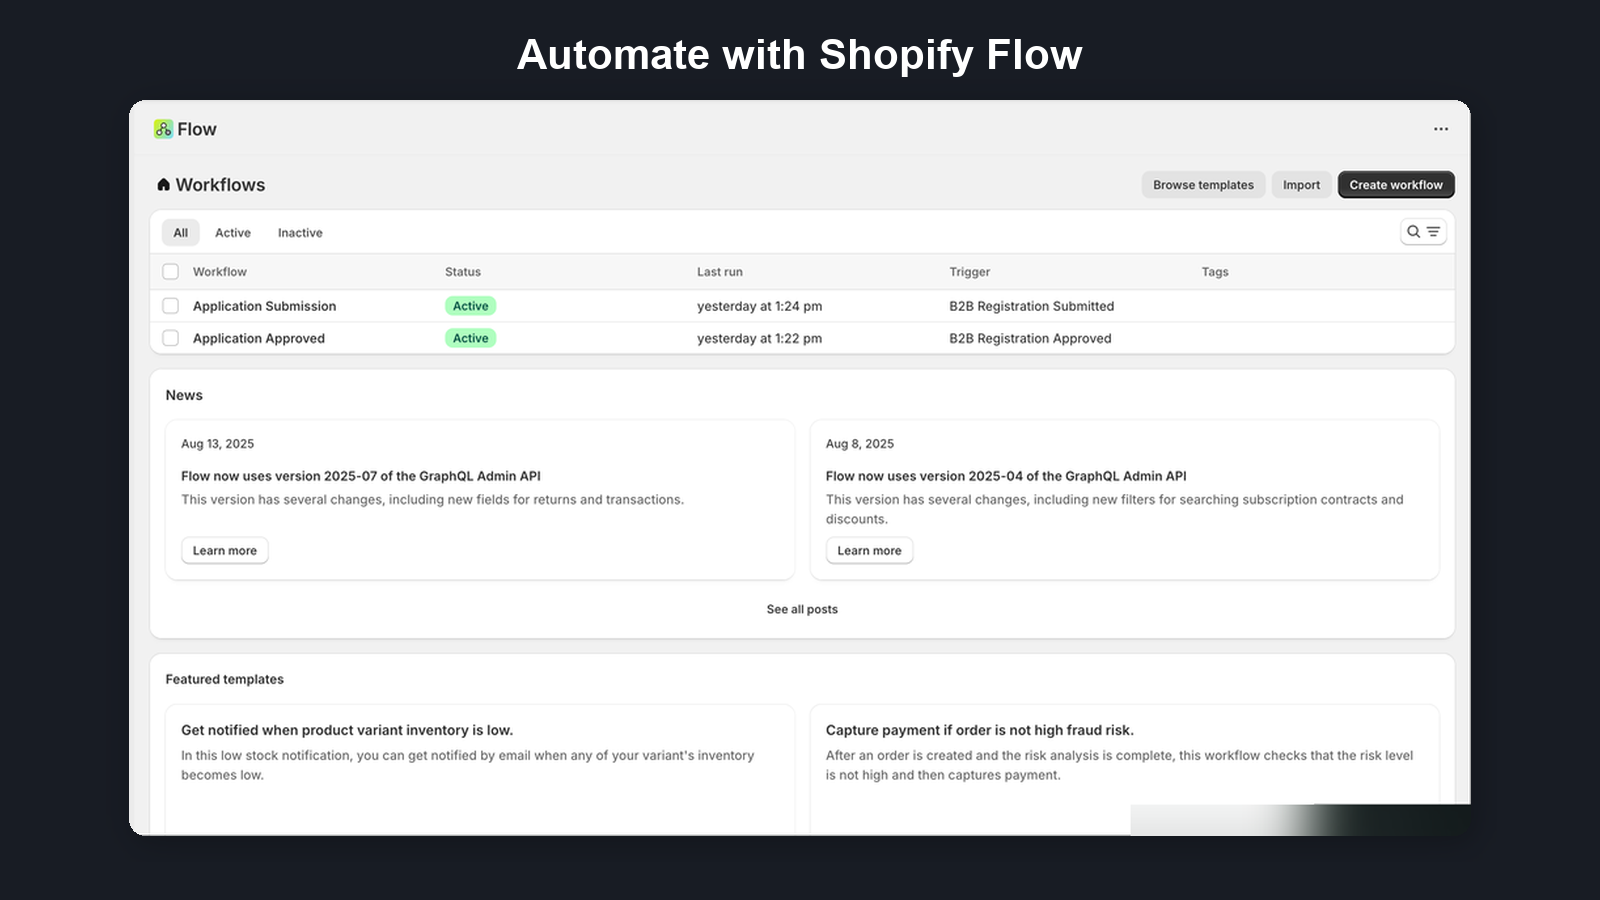
What is Shopify Flow?
Shopify Flow is Shopify's built-in automation platform. B2B Onboard integrates with Flow to let you automate registration workflows without writing any code.
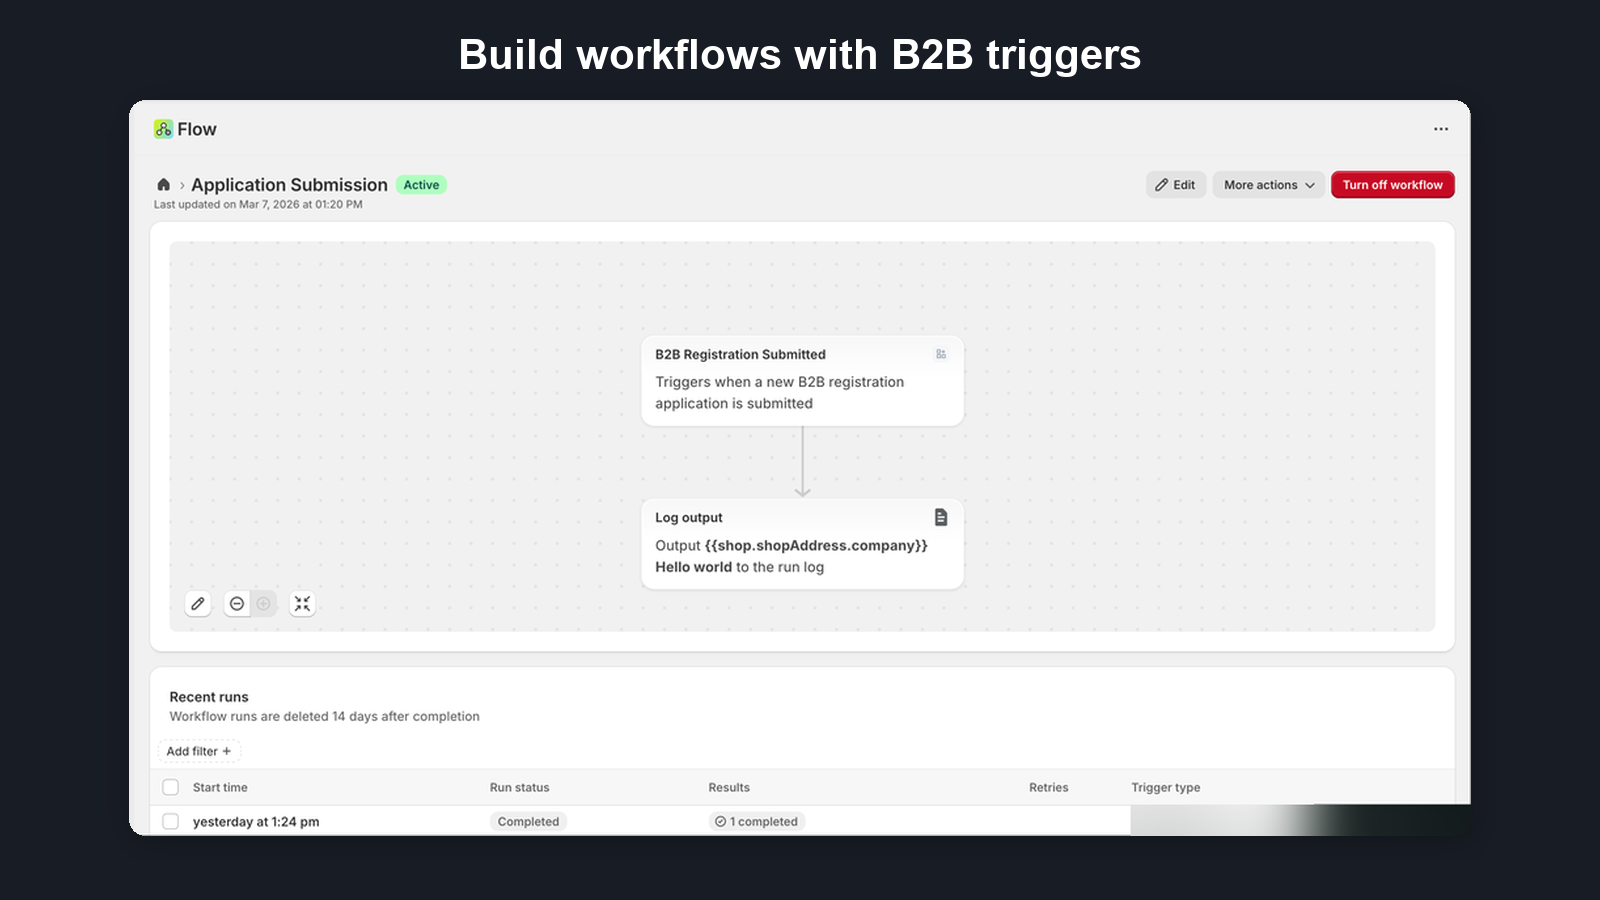
Triggers fire events when things happen in B2B Onboard — a new application is submitted, an application is approved, rejected, or more information is requested. Actions let Flow workflows take actions inside B2B Onboard — approving or rejecting an application, or tagging a customer.
You can combine B2B Onboard triggers and actions with hundreds of other Shopify Flow connectors to build powerful automations.
Plan Availability
| Feature | Available On |
|---|---|
| Triggers | All plans (Free, Starter, Growth, Pro) |
| Actions | Growth and Pro plans only |
You can build workflows using triggers on any plan, but actions that execute back into B2B Onboard require Growth or Pro.
Available Triggers
Triggers fire events when something happens in B2B Onboard. Use them to start Flow workflows.
| Trigger | Handle | Payload Fields |
|---|---|---|
| Registration Submitted Fires when a new B2B application is submitted | b2b-registration-submitted |
Application ID, Company Name, Contact Name, Form ID, Form Name, Submitted At |
| Registration Approved Fires when an application is approved (manually or auto-approved) | b2b-registration-approved |
Application ID, Company Name, Contact Name, Shopify Customer ID, Shopify Company ID, Auto Approved, Reviewed By, Customer Reference |
| Registration Rejected Fires when an application is rejected | b2b-registration-rejected |
Application ID, Company Name, Contact Name, Rejection Reason, Reviewed By |
| Information Requested Fires when a merchant requests additional information | b2b-registration-info-req |
Application ID, Company Name, Contact Name, Requested Info |
Triggers are fire-and-forget. If Flow is unavailable, the app's normal operation is not affected.
Available Actions
Actions let Flow workflows take actions inside B2B Onboard. Available on Growth and Pro plans.
| Action | Handle | Input Fields |
|---|---|---|
| Approve Registration Approves an application and creates the Shopify customer/company | approve-b2b-registration |
Application ID (required) |
| Reject Registration Rejects an application with a reason | reject-b2b-registration |
Application ID (required), Rejection Reason (optional) |
| Tag B2B Customer Adds tags to the Shopify customer created from a registration | tag-b2b-customer |
Application ID (required), Tags (required, comma-separated) |
Actions executed via Flow show "Shopify Flow" as the actor in the application timeline.
Ready-made Templates
B2B Onboard ships with pre-built Flow templates — complete workflows with variables already wired up. Install one with a single click and customise it to fit your needs.
Automatically tags customers as b2b-pending when they submit a registration. Useful for segmenting new wholesale applicants before review.
Sends a Slack message with the company name and contact name when a registration is approved. Keeps your team informed in real time.
Automatically approves registrations from specific company domains. Set your VIP domain list in the condition step after installing.
To install a template: go to Settings → Flow → Browse templates and search for "B2B Onboard". Templates can be fully customised after installation — add conditions, change actions, or combine with other connectors.
Example Workflows
Here are a few common automations you can build with B2B Onboard and Shopify Flow:
- Auto-tag approved customers: Registration Approved trigger → Tag B2B Customer action (tags: "b2b", "wholesale")
- Slack notification on new submission: Registration Submitted trigger → Shopify's built-in "Send Slack message" action
- Auto-approve VIP domains: Registration Submitted trigger → Condition (Company Name contains "VIP") → Approve Registration action
- Auto-reject free email domains: Registration Submitted trigger → Condition (email contains gmail.com or yahoo.com) → Reject Registration action
- CRM sync: Registration Approved trigger → Send data to your CRM via HTTP webhook action
- Follow-up reminder: Registration Submitted trigger → Wait 48 hours → Condition (status is still pending) → Send email reminder to merchant
Build workflows in the Shopify Flow editor: go to Settings → Flow in your Shopify admin.
Data Shared with Flow
Flow trigger payloads include application metadata only: IDs, company name, contact name, timestamps, and status-related fields.
No sensitive personal data (email, phone, full address, uploaded documents) is included in trigger payloads.
Data is processed by Shopify under their existing privacy terms. For details, see our Privacy Policy.
Getting Started with Flow
To create your first workflow:
- Open your Shopify admin
- Go to Settings → Flow
- Click Create workflow
- Select a B2B Onboard trigger to start the workflow
- Add conditions and actions as needed
- Click Turn on workflow to activate
For more on Shopify Flow, see the Shopify Flow documentation.
Testing Your Workflow
The easiest way to test a workflow is to submit a test application through your own registration form:
- Visit your registration form URL on the storefront
- Submit an application using a test email address (e.g., test@yourstore.com) so you can identify and delete it later
- In your Shopify admin, go to Settings → Flow and click on your workflow
- Open the Run history tab to see whether the workflow triggered correctly and review each step's result
If a step failed, the run history shows the error details. Common issues include missing conditions or incorrect action configuration. You can edit the workflow and re-test by submitting another application.